The Ultimate Guide to Deploying Your Node.js Application on MilesWeb
An experience and a guide.
I was recently tasked with hosting a Node.js server on a managed low-cost platform without any compromise to the performance. I took this opportunity to try out MilesWeb shared hosting. After facing a lot of challenges and successfully hosting my application, I am sharing my honest review and deployment guide.
Reasons I chose MilesWeb
It's cheap (Cost me Rs.1980 for the whole year excluding taxes)
Complete upfront payment with a tax invoice with a 30-day money-back guarantee.
Cpanel hosting.
24X7 customer support.
Deployment Guide
Purchasing a hosting plan
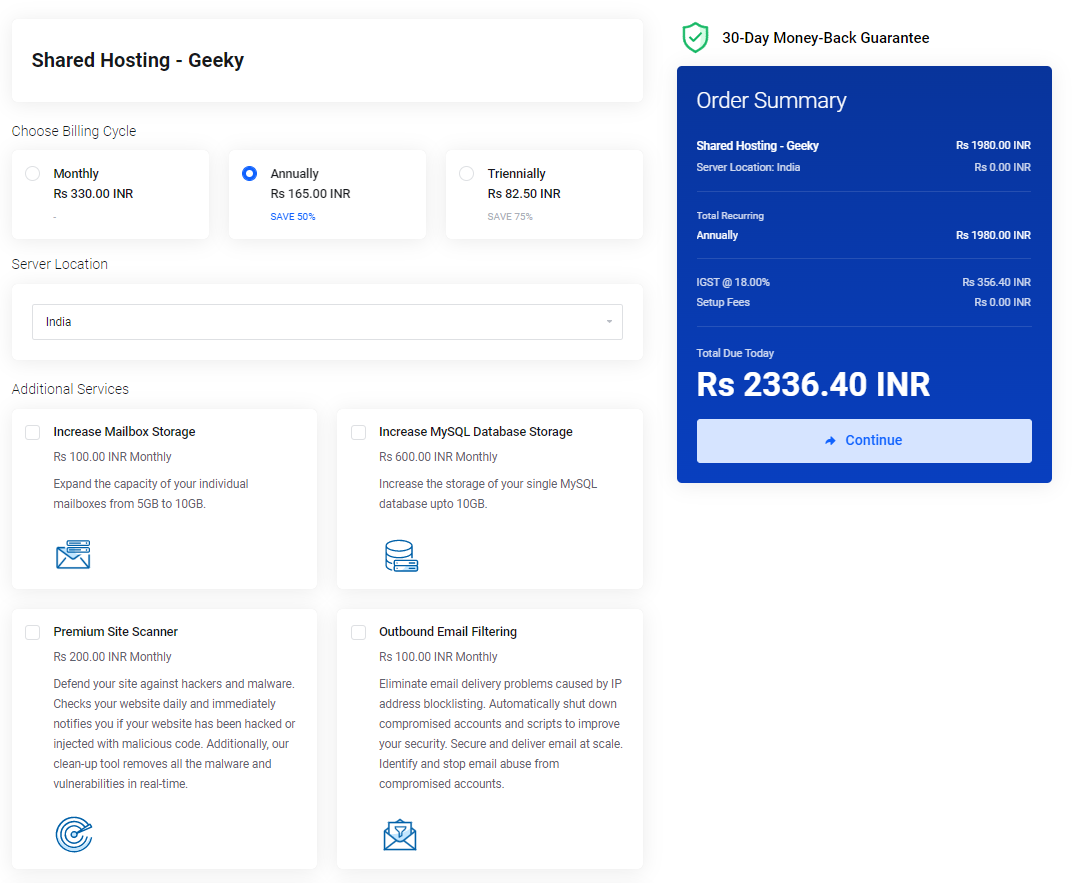
I went ahead with the Geeky shared hosting plan which gave me the option to host one website with 10 GB SSD storage, Cpanel and unlimited bandwidth which was all I needed. It had a lot more features that did not particularly concern me.
After adding to the cart, you will be redirected to a page where you are asked to register a new domain, transfer from another registrar or update the nameservers of a previously purchased domain. Since I had to register a new domain, I chose the first option. After proceeding, you will be brought to another page where you have to choose the billing cycle (I went ahead with annually), server location, and a lot of additional services. Since I required no additional service, and I could provision a free SSL certificate from Let's Encrypt from Cpanel, I went ahead and completed my account setup and billing. A few minutes later, I received the invoice, domain registration confirmation and a Cpanel activation confirmation via email.
Logging in to Cpanel
With the domain registered, and a hosting plan active, you are all set to go.
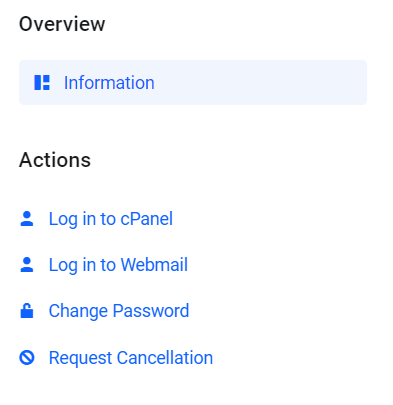
Log in to your account, select Services on the side navigation -> select 'Shared Hosting - Geeky' which should be active, and you will land on the product details page of the selected service.
On the left, there is an option to Log in to your Cpanel, clicking on which a new tab will open with your Cpanel dashboard. And now the tricky part starts...
The application I was deploying was a Node.js application connected to a MongoDB database on MongoDB atlas. Also, I wanted to deploy the server on a subdomain, let's say server.xyzabc.com, as the primary domain would be used to host the front end of the application.
Creating a Subdomain
I had registered the new domain with MilesWeb and used it for my Cpanel activation at the time of purchase. Ensure that the domain you want to use and the domain the Cpanel account is linked to are the same. Contact support if they are different.
Go to Domains -> Domain -> Create a new domain and you will land on a page like this
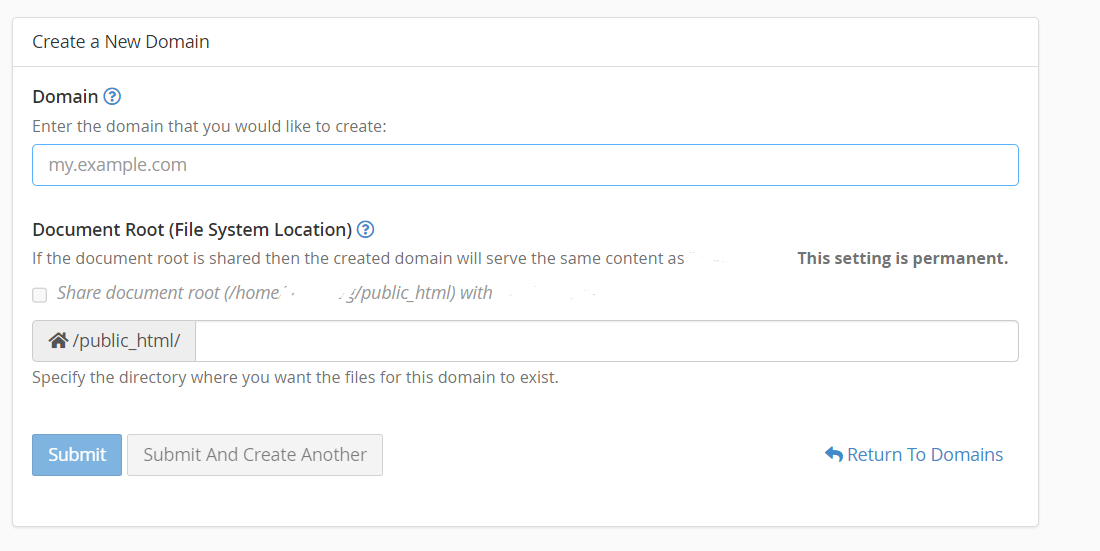
Go ahead and enter the subdomain (server.xyzabc.com). Click on submit. You will see that a new subdomain has been created on the domains page.
Uploading Node.js Application Files
Go to Files -> File Manager. A new tab of the file manager will open.
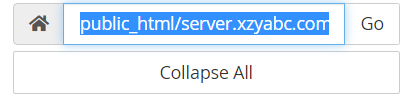
Locate your server.xyzabc.com folder which would be under the public_html folder.
Now if you haven't already, create a zip file of your server folder. Upload the zip file to the file manager, extract the files and copy the location.
If the files were extracted in a folder called "server" inside the directory, the location would look something like this public_html/server.xzyabc.com/server.
Setup Node.Js application
Go to Software -> Set up Node.js App -> Create New Application. Here you will have to enter several fields to set up your app.
Node.js version - 16.17.1
Application mode - Production
Application root - The location where you extracted your files (You copied it!)
Application URL - Click on the dropdown and select the subdomain
Application startup files - index.js (in my case!)
Environment variables - If you have any
Click on create and wait a moment.
After it has been created successfully, scroll down.

If you are not able to find the 'Detected configuration files' section, the Node.js app was not created successfully and it was most probably due to an incorrect path.
Click on 'Run NPM Install' and wait for some time till it finishes.
Your server is now running on the domain! Congratulations 😊
503 Gateway Errors - The Hard Part
You have followed everything correctly but on accessing the domain (server.xyzabc.com) you are getting a 503 Bad Gateway error. Frustrating isn't it? I got you. Let's debug!
Check Port
Your Node.js application runs on a port. I like to keep it on 8081. On shared hosting, this port might be provided to someone else, or some configuration has to be done on the server (By MilesWeb) to allow the application to run on the port you specified.
So note down the port on which the application is supposed to run and initiate a live chat with 24/7 support. Ask the folks there to enable your application to run on that port.
After they have done the needful, test to see if the server is accessible. In most cases, you should not get a 503 gateway error anymore.
Open Port for MongoDB
The shared hosting has some pretty strict network rules which might not be allowing your application to connect to the MongoDB database through a connection string and due to this, your application is not starting up.
Again, initiate a live chat and ask the folks to open a port for your application to connect to your MongoDB database on MongoDB Atlas.
Restart your Node.js application and test it.
Still, Getting a 503 Bad Gateway?
Now we have to dive into the terminal
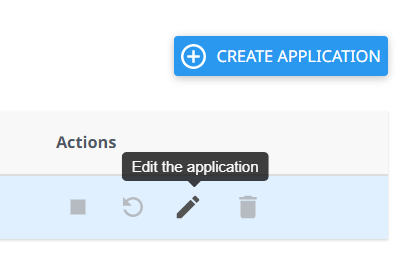
Go to the Node.js applications, and under the actions tab click on 'Edit the Application'.
On the top, you will have a dark blue box saying - 'Enter to the virtual environment. To enter to virtual environment, run the command:'
Copy the command.
Go to Advanced -> Terminal. You will enter a terminal.
Paste the command. You should be in the directory of your Node.js application.
Now, try to start the application (node index.js).
If you get an error, it is most probably due to a bug in your code.
If the code is working fine in your local environment but showing an error in the terminal (in Cpanel), check the Node.js version.
If it starts up fine, test the URL again.
If it still does not solve your problem, contact MilesWeb support.
If you make any changes to the code, do not forget to restart your node.js application!
Final Thoughts
Cpanel hosting comes as a shock to someone like me who is used to the ease of deployment in Heroku and Azure App Service. I had to Google my problems and contact support more often than I liked. I would recommend MilesWeb shared hosting or any Cpanel hosting to those people who are on a tight budget and cannot afford expensive hosting solutions. Shared hosting comes with a lot of restrictions as you physically share the server with a lot of clients. The performance of my application on this hosting did not disappoint me and I would recommend it for any small-medium traffic website.